
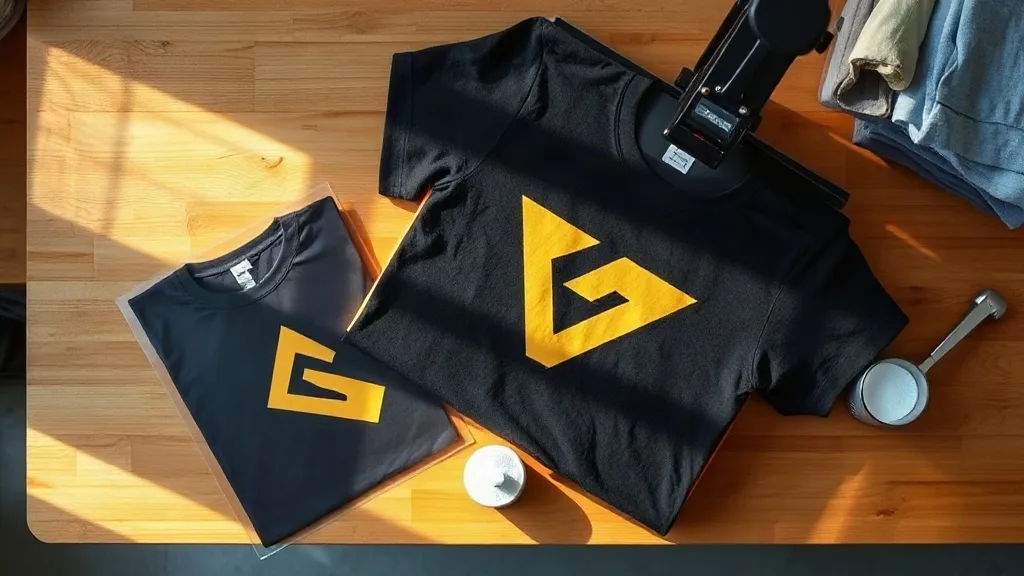
Most people discover dtf transfers the same way: they have a small batch of shirts to make, a heat press sitting in the corner, and no desire to buy a $20,000 printer. DTF, short for direct-to-film, solved a real problem for that crowd. It lets you print a design onto a film, dust it with adhesive powder, cure it, and press it onto almost any fabric with heat. No cutting vinyl, no weeding tiny letters, no color limitations tied to the shirt you picked.
That convenience is exactly why the market filled up fast, and why the quality you get varies so wildly between suppliers. Two transfers that look identical in a photo can behave completely differently after ten washes. This guide is about the details that separate a good order from a frustrating one, written for people who would rather learn from someone else's mistakes than make their own.
How the DTF process actually works
The workflow is short but each step matters. A printer lays down water-based pigment inks onto a PET film, usually printing a white ink layer underneath the color so the design stays opaque on dark garments. While the ink is still wet, a layer of hot-melt adhesive powder is applied and shaken off, then the film goes through a curing step that melts the powder into the ink. What you receive in the mail is a flexible, slightly tacky sheet that is ready to press.
At press time, you position the film on the garment, apply heat and pressure, let it cool briefly, and peel. The adhesive bonds the ink to the fabric, and the result is a soft, stretchy print with fine detail intact. Because the design lives on a film rather than directly on the shirt, dtf printing works on cotton, polyester, blends, canvas, and even some nylon, which is a big part of its appeal for anyone printing mixed apparel orders.
Why the powder step decides quality
If you only remember one technical point from this article, make it this one. The adhesive powder is what holds the print to the fabric, and how well it is applied and cured determines whether your design survives the wash. Too little powder and edges lift. Too much and you get a stiff, plastic-feeling patch with visible texture. Under-cured powder leaves a grainy surface that peels in sheets. A supplier who controls this step carefully is worth paying a little more for.
What to check before you place an order
Photos on a product page tell you almost nothing about durability. Before committing to a supplier, especially for a client order or a market run, use these checks:
- Ask for a sample pack. Any serious shop will send a small test sheet or sell one cheaply. Press it, wash it three or four times, and inspect the edges.
- Look at the white layer. Hold the film up to light. Uneven white coverage means patchy opacity on dark shirts.
- Check the film size options. Gang sheets, A3, and A4 each suit different workflows. If you print many small designs, a gang sheet saves real money.
- Confirm press settings. A supplier who publishes temperature, time, and pressure guidance has tested their product. Silence on this is a warning sign.
- Read the fine print on color matching. Pantone accuracy is not guaranteed in most DTF workflows, and honest shops say so upfront.
Preparing artwork that presses cleanly
Artwork problems cause more ruined transfers than equipment issues. A few habits will save you money and time.
Resolution and file setup
Submit files at 300 DPI at final print size. Vector files are ideal for logos and text, but raster files are fine if they are large enough. Avoid upscaling a small JPEG and hoping for the best. Enlarged low-resolution art produces soft, fuzzy edges that no amount of pressing will fix.
Thin lines and small text
Hairline strokes below roughly one millimeter tend to break up during pressing. If your design includes fine serif text or delicate line art, thicken it slightly before printing. The same goes for very small lettering: if it is hard to read on screen at print size, it will be hard to read on the shirt.
Backgrounds and transparency
DTF films print exactly what you send, including any white background. If you want the shirt color to show through, your file needs a transparent background. Sending a flattened JPEG with a white box around the logo is one of the most common order mistakes, and it results in a white rectangle pressed onto the garment.
Finding a supplier without wasting a week
When people search for dtf transfers near me, they are usually after one of two things: faster turnaround or the ability to inspect quality in person. Local print shops that offer DTF often turn orders around in a day or two, which matters for last-minute events. Online suppliers usually beat them on price per sheet and offer larger gang sheets, but shipping time and inconsistent quality are the trade-offs.
A sensible approach is to keep both options in your contacts. Use a local shop when a deadline is tight or a client needs a rush proof, and use a reliable online supplier for bulk gang sheets where you can plan ahead. Test any new supplier with a single small order before you send them a fifty-design sheet.
Pressing for results that last
Even a great transfer fails under bad pressing. The variables are few, so dial them in once and repeat them.
- Pre-press the garment. Ten seconds of heat removes moisture and wrinkles that cause uneven adhesion.
- Set temperature by fabric. Cotton generally tolerates higher heat than polyester, which can scorch or show press marks. Follow your supplier's chart rather than guessing.
- Use firm, even pressure. Light pressure leaves the adhesive under-activated, and the print lifts at the corners.
- Cool before peeling. Warm peel is possible with some films, but cool peel is more forgiving and gives cleaner edges.
- Repress after peeling. A short second press with a cover sheet smooths the texture and locks the edges.
Wash care matters too. Turn garments inside out, use cold water, and skip the high-heat dryer cycle when you can. Prints that are pressed correctly and washed sensibly routinely last dozens of cycles.
Where DTF fits and where it does not
DTF is not the answer to every decoration question, and knowing its limits keeps you from overselling it. It shines on small batches, multi-color designs, dark garments, and orders that mix fabric types. It is less ideal when you need a very soft hand feel on lightweight performance wear, where a well-executed screen print still wins. For high-volume runs of a single design, screen printing usually costs less per unit once you pass a few hundred pieces.
For the small shop, the side hustle, or the team ordering twenty shirts for an event, though, DTF removes most of the friction. You are not buying screens or minimum quantities, and you can change the design between orders without paying setup fees again.
Frequently asked questions
How long do DTF transfers last after washing?
With correct pressing and cold-water washing inside out, most quality transfers hold up for fifty or more wash cycles. Peeling usually traces back to under-cured powder, insufficient pressure, or washing in hot water.
Can I press DTF onto polyester without scorching it?
Yes, but drop the temperature and shorten the press time compared to cotton. Use a cover sheet and test on a scrap piece of the same fabric first, since polyester blends vary a lot in heat tolerance.
Do I need a commercial heat press?
A home iron is unreliable because pressure and temperature are uneven. A basic clamshell press is the minimum for consistent results, and it pays for itself quickly compared to paying a shop per shirt.
Why did my transfer come out stiff?
Excess adhesive powder is the usual cause. Powder should be shaken off thoroughly before curing so only the ink surface holds adhesive. Stiffness can also come from pressing too hot for too long.
Can I layer DTF transfers on top of each other?
It is possible for small accents, but layering adds thickness and reduces flexibility. For multi-color designs, print everything as one transfer rather than stacking separate films.