
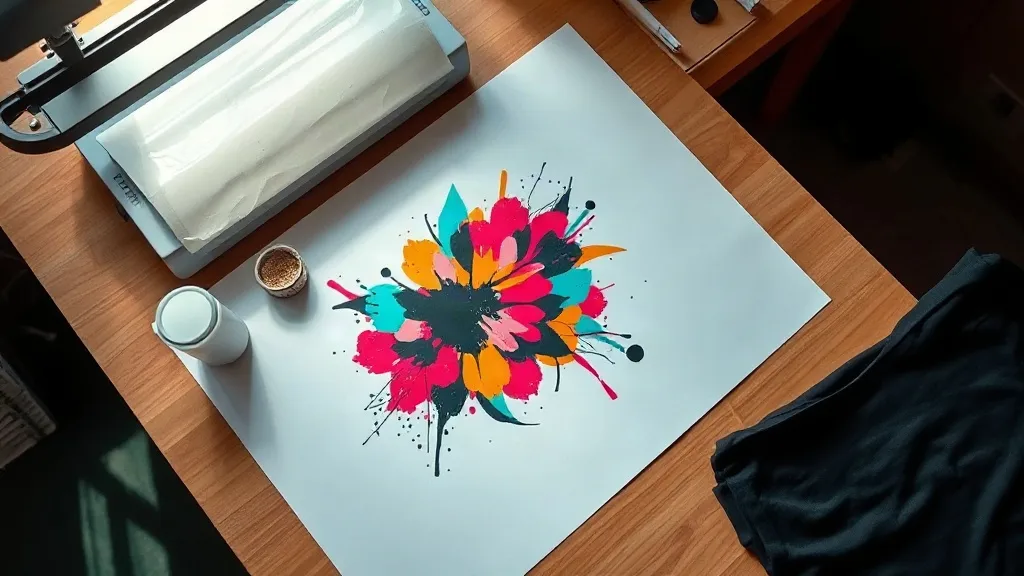
Walk into any print shop that opened in the last three years and you will probably spot a heat press sitting next to a small desktop printer, a roll of film, and a shaker full of adhesive powder. That setup is the tell. dtf transfers have quietly become the default entry point for people who want full-color apparel printing without buying a screen exposure unit or leasing a warehouse for a conveyor dryer. The appeal is easy to understand: print the design, cure the powder, press it onto a shirt, and you are done. No color separations, no minimum order of 24 pieces, no screens to reclaim.
But the gap between a print that survives three washes and one that still looks sharp after thirty comes down to details most beginners never hear about. This guide covers what those details are, how to evaluate a supplier before you commit, and how to match transfers to garments so the finished product holds up the way customers expect.
What Actually Happens Inside a DTF Transfer
A dtf transfers sheet is a sandwich of four layers, and each one can fail independently. Understanding them makes it much easier to diagnose problems instead of guessing.
The release film
This is the carrier sheet the design is printed onto. PET film is the standard, and quality varies more than suppliers like to admit. Cheap film curls at the edges under heat, which causes the print to shift mid-press and produces a ghosted double image. Good film stays flat through repeated passes and releases cleanly once it cools.
The ink layer
Pigment inks sit on top of the film in reverse. White ink matters most here because it acts as the opacity layer under every color. Thin white ink is the single most common reason a transfer looks washed out on a dark shirt. If you are buying from a new supplier, test on a black garment first. It exposes weak white coverage immediately.
The adhesive powder
After printing, the wet ink gets dusted with hot-melt powder and cured. This powder is what actually bonds to fabric. Uneven powdering shows up as patchy adhesion, usually at the edges of large solid areas. You will notice it as lifting corners after the first wash, not right after pressing, which is why wash testing matters so much.
The transfer itself
Pressing is where all of this comes together. Temperature, pressure, and peel timing all interact. A cold peel and a hot peel are not interchangeable, and using the wrong one can pull adhesive away from the garment before it has set.
How to Judge a Supplier Before You Buy in Bulk
Most people order a sample pack, press one shirt, decide it looks fine, and then order two hundred sheets. That is a mistake. A single press tells you almost nothing. Here is a more useful evaluation routine that costs very little.
- Order a small mixed sample. Include at least one design with fine detail, one with large solid color blocks, and one with gradients. Each stresses a different part of the process.
- Press onto three fabric types. Use a 100% cotton tee, a cotton/poly blend, and a performance polyester. Results will differ noticeably, and you want to see that before you promise anything to a customer.
- Wash one of each inside out, three times. Skip the dryer on one cycle and use it on another. Real customers do both.
- Stretch the print. Pull the fabric gently across the print area. Cracking along the ink edges signals the powder did not fully cure or the ink deposit was too thick.
- Check the peel instructions against what you received. If the supplier cannot tell you whether their film is hot or cold peel, that is a warning sign about their consistency.
Do this once per supplier and you will have a much clearer picture than any product photo can give you.
Fabric Compatibility Is Where Most Problems Start
dtf is often marketed as working on everything, and technically it does adhere to a very wide range of materials. Whether it adheres well and stays comfortable is a different question.
Cotton and cotton-rich blends
This is the easiest territory. Cotton accepts the adhesive readily, the hand feel softens after the first wash, and durability is predictable. If you are new to the process, keep your first jobs here.
Polyester and performance fabrics
Polyester dyes can migrate into the ink layer under heat, which shows up as a faint color ghosting through the white. Lower press temperatures and a slightly longer dwell time usually solve it. Very smooth performance polyester also needs more consistent pressure, because the fabric surface does not give the adhesive much to grip.
Nylon and coated materials
These are the risky ones. Coatings can melt, and nylon often needs a lower temperature than the transfer was designed for. Test on an offcut before committing a full garment.
Choosing Blanks That Do the Print Justice
A transfer can only look as good as the shirt underneath it. Thin blanks show texture through large solid prints, and inconsistent fabric weight makes pressing unpredictable from one unit to the next. For volume work, a reliable heavyweight tee makes the whole process more repeatable.
shaka wear is worth looking at if you want consistent heavyweight cotton blanks at a price that still leaves room for margin. Their tees hold a flat surface well under the press, which reduces the pressure variation that causes patchy adhesion on lighter garments. Pairing a dependable blank with a dependable transfer removes two variables at once, and that is most of the battle in a small shop.
Pressing Settings Worth Writing Down
Exact numbers depend on your press and your film, so treat these as starting points to dial in rather than fixed rules.
- Temperature: around 150 to 160 C for cotton. Drop toward the lower end for polyester.
- Pressure: medium to firm. You want the fabric compressed, not flattened into submission.
- Pre-press: always press the garment for a few seconds first. Moisture in the fabric is a common cause of poor adhesion.
- Peel: follow the film's instruction. Cold peel means let it cool completely, and that is not a suggestion.
- Post-press: a short second press under a cover sheet improves the bond and smooths the surface.
Keep a notebook or a note on your phone with the settings that worked for each blank and film combination. After a few months you will have a reference that saves you from re-testing the same thing twice.
Where DTF Fits and Where It Does Not
It is worth being honest about the limits. dtf transfers are excellent for short runs, full-color artwork, and one-off personalization. They are less suited to extremely high-volume orders where screen printing becomes cheaper per unit, and they are not the right choice for garments that will be washed at industrial temperatures.
For most independent sellers, though, the tradeoff is clearly worth it. The ability to print a single shirt in full color without setup cost opens up product lines that simply were not viable before.
Frequently Asked Questions
How long do DTF transfers last on a shirt?
With correct pressing and normal washing inside out, most quality transfers hold up for dozens of wash cycles. The two biggest factors are even powder coverage and following the peel instructions exactly. Poorly cured transfers can start lifting within a handful of washes.
Can I press DTF transfers with a home iron?
It is possible but unreliable. A home iron does not deliver even pressure across the whole design, so adhesion tends to be patchy at the edges. If you are doing more than a couple of pieces, a proper heat press pays for itself quickly in reduced waste.
Do DTF transfers work on dark and light shirts equally well?
Yes, because the white ink layer provides opacity underneath the colors. The catch is that the white layer has to be thick enough. Thin white ink is why some transfers look dull on black garments while looking fine on white ones.
Should I choose DTF or screen printing for a small order?
For orders under roughly two dozen pieces with multiple colors, DTF is usually the more economical choice since there is no setup cost per color. Screen printing becomes more competitive as volume rises and the artwork stays simple.
How should I store unused transfers?
Keep them flat, dry, and away from direct heat and sunlight. Stacking heavy objects on top can deform the film. Most transfers stay usable for a long time under those conditions, but always do a test press if a roll has been sitting for many months.